Table of Contents
What TPM 2.0 is and why it matters
You’re not the only one who got an error saying your PC needs TPM 2.0 when you tried to upgrade to Windows 11. Trusted Platform Module version 2.0 is the official name for this hardware-based security feature. It is very important for keeping sensitive information safe, encrypting data, and making sure that the system is working properly.
What is TPM 2.0?
Most modern motherboards have a TPM 2.0 chip that is only for security. It keeps cryptographic keys, passwords, and digital certificates safe, which helps keep people who shouldn’t have access to your data from getting it.
How TPM 2.0 Works
TPM 2.0 checks the boot process to make sure that no one has messed with your system when you start it up. It’s like a guard for your computer that is always on duty.
Benefits of Enabling TPM 2.0
- Enhanced Security: Protects encryption keys from hackers.
- Windows 11 Compatibility: Microsoft requires TPM 2.0 for installation.
- BitLocker Support: Allows full disk encryption.
- Secure Boot Integration: Prevents malware from loading during startup.
Checking If Your System Supports TPM 2.0
Before enabling it, confirm if your device already supports TPM 2.0.
Using Windows Security App
- Open Start Menu → Search for Windows Security.
- Go to Device Security → Security Processor details.
- Look for Specification Version 2.0.
Using Device Manager
- Press Windows + X → Device Manager.
- Expand Security Devices.
- Look for Trusted Platform Module 2.0.
Using Command Prompt
- Open Command Prompt as Administrator.
- Type: CopyEdit
tpm.msc - Press Enter to see TPM status.
Common Reasons TPM 2.0 May Be Disabled
- Factory Settings: Some systems ship with TPM off by default.
- BIOS Updates: Resetting firmware can disable TPM.
- Compatibility Issues: Older systems may require firmware TPM (fTPM).
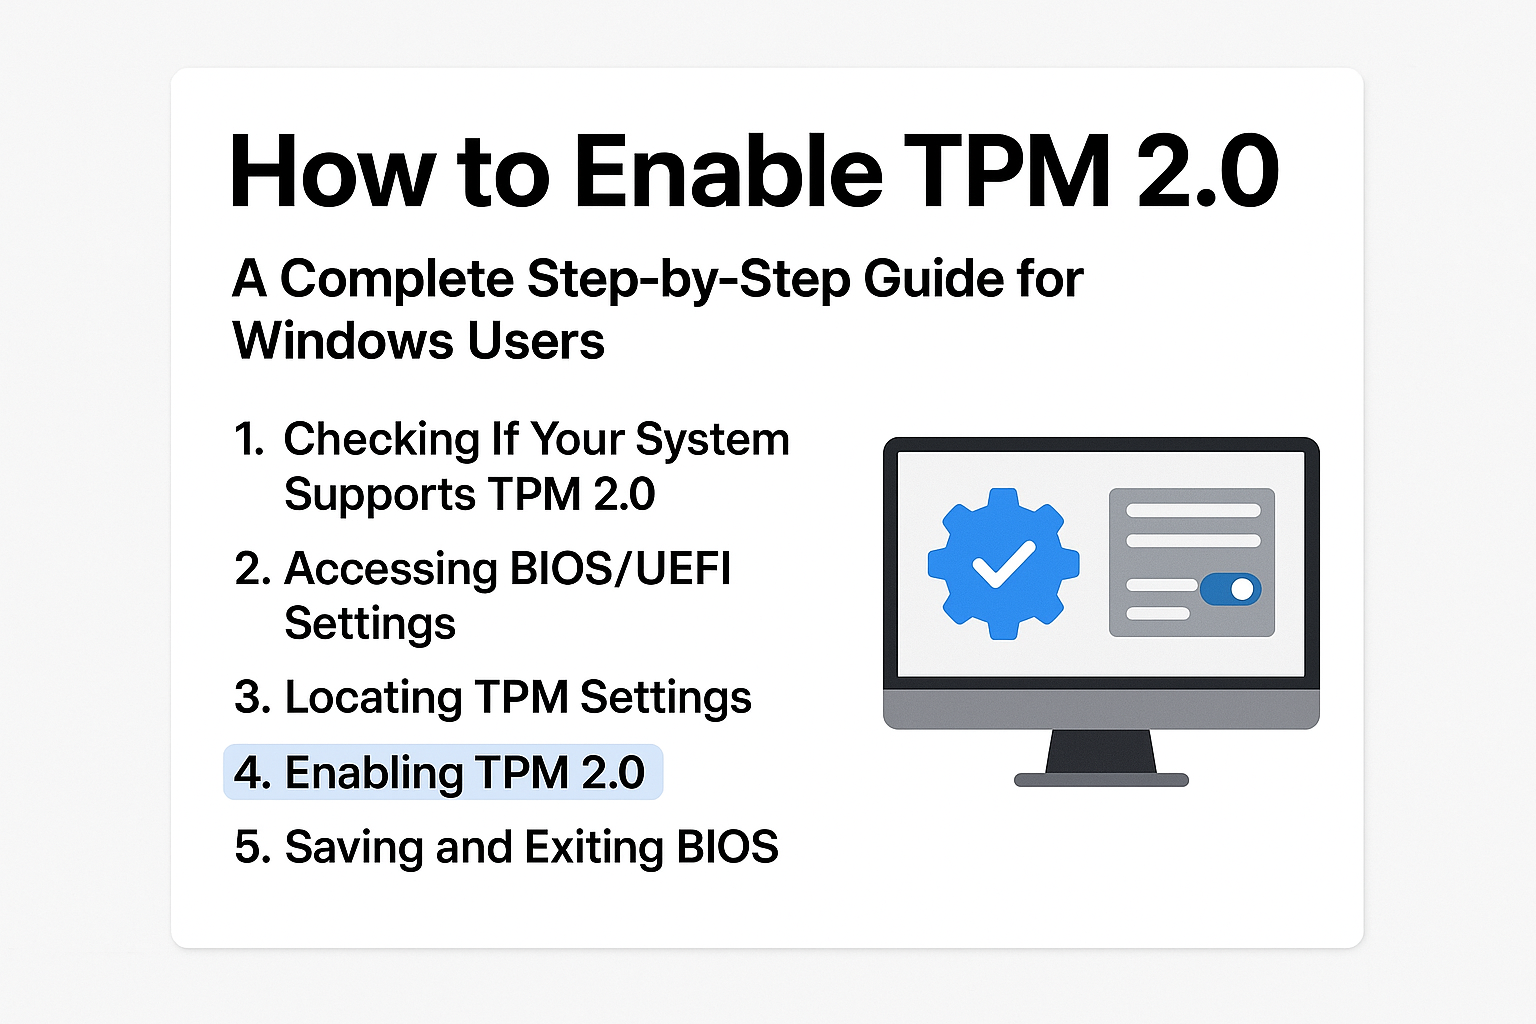
Step-by-Step Guide to Enable TPM 2.0 in BIOS/UEFI
- Restart Your PC → Press Del, F2, or Esc repeatedly to enter BIOS.
- Locate TPM Settings (under Security or Advanced menu).
- If you see TPM Device or Security Device Support, set it to Enabled.
- Save & Exit BIOS (usually F10).
Enabling TPM 2.0 on Different Motherboard Brands
ASUS Motherboards
- Navigate to Advanced → PCH-FW Configuration → Enable PTT.
MSI Motherboards
- Go to Settings → Security → Trusted Computing → Enable TPM.
Gigabyte Motherboards
- Find Settings → Miscellaneous → TPM Device → Enable Firmware TPM.
Dell & HP Systems
- BIOS menu → Security → TPM Security → Enable.
Verifying TPM 2.0 Is Enabled
- TPM Management Console: Open tpm.msc, ensure status reads The TPM is ready for use.
- Windows Security: Check under Device Security for TPM active status.
Troubleshooting TPM 2.0 Issues
- TPM Not Detected: Ensure BIOS is updated.
- BIOS Option Missing: Look for terms like PTT (Intel) or fTPM (AMD).
- Clearing TPM: Use this only if migrating systems or fixing corruption.
Preparing Your PC for Windows 11 with TPM 2.0
- Minimum Requirements: 64-bit processor, 4GB RAM, TPM 2.0, Secure Boot.
- PC Health Check Tool: Download from Microsoft’s website to confirm readiness.
Frequently Asked Questions about TPM 2.0
1. Is TPM 2.0 a physical chip?
Yes, but some systems use firmware-based TPM (fTPM).
2. Can I install Windows 11 without TPM 2.0?
Officially, no—Microsoft requires it for security.
3. Does enabling TPM affect performance?
No, TPM runs independently of main processing tasks.
4. Is TPM 2.0 the same as Secure Boot?
No, but both work together to enhance security.
5. Will enabling TPM erase my data?
No, enabling TPM does not delete files.
6. Can I upgrade my PC to have TPM 2.0?
Yes, via a TPM module if your motherboard supports it.
Conclusion
Enabling TPM 2.0 is a small step that makes your system more secure and ready for Windows 11. You don’t need a tech degree to enable TPM with these steps.